Homelab Pt. 1: Baby's First Node
Overview
~10 years into my journey in cyber, I’m finally caving in and building a homelab.
As a starting point, I’m running a single NixOS node with Kubernetes (k3s) and Kubevirt to host container and virtual machine workloads. The goal is to have something simple and stable to run workloads for myself/family/friends. Everything is defined as code here.
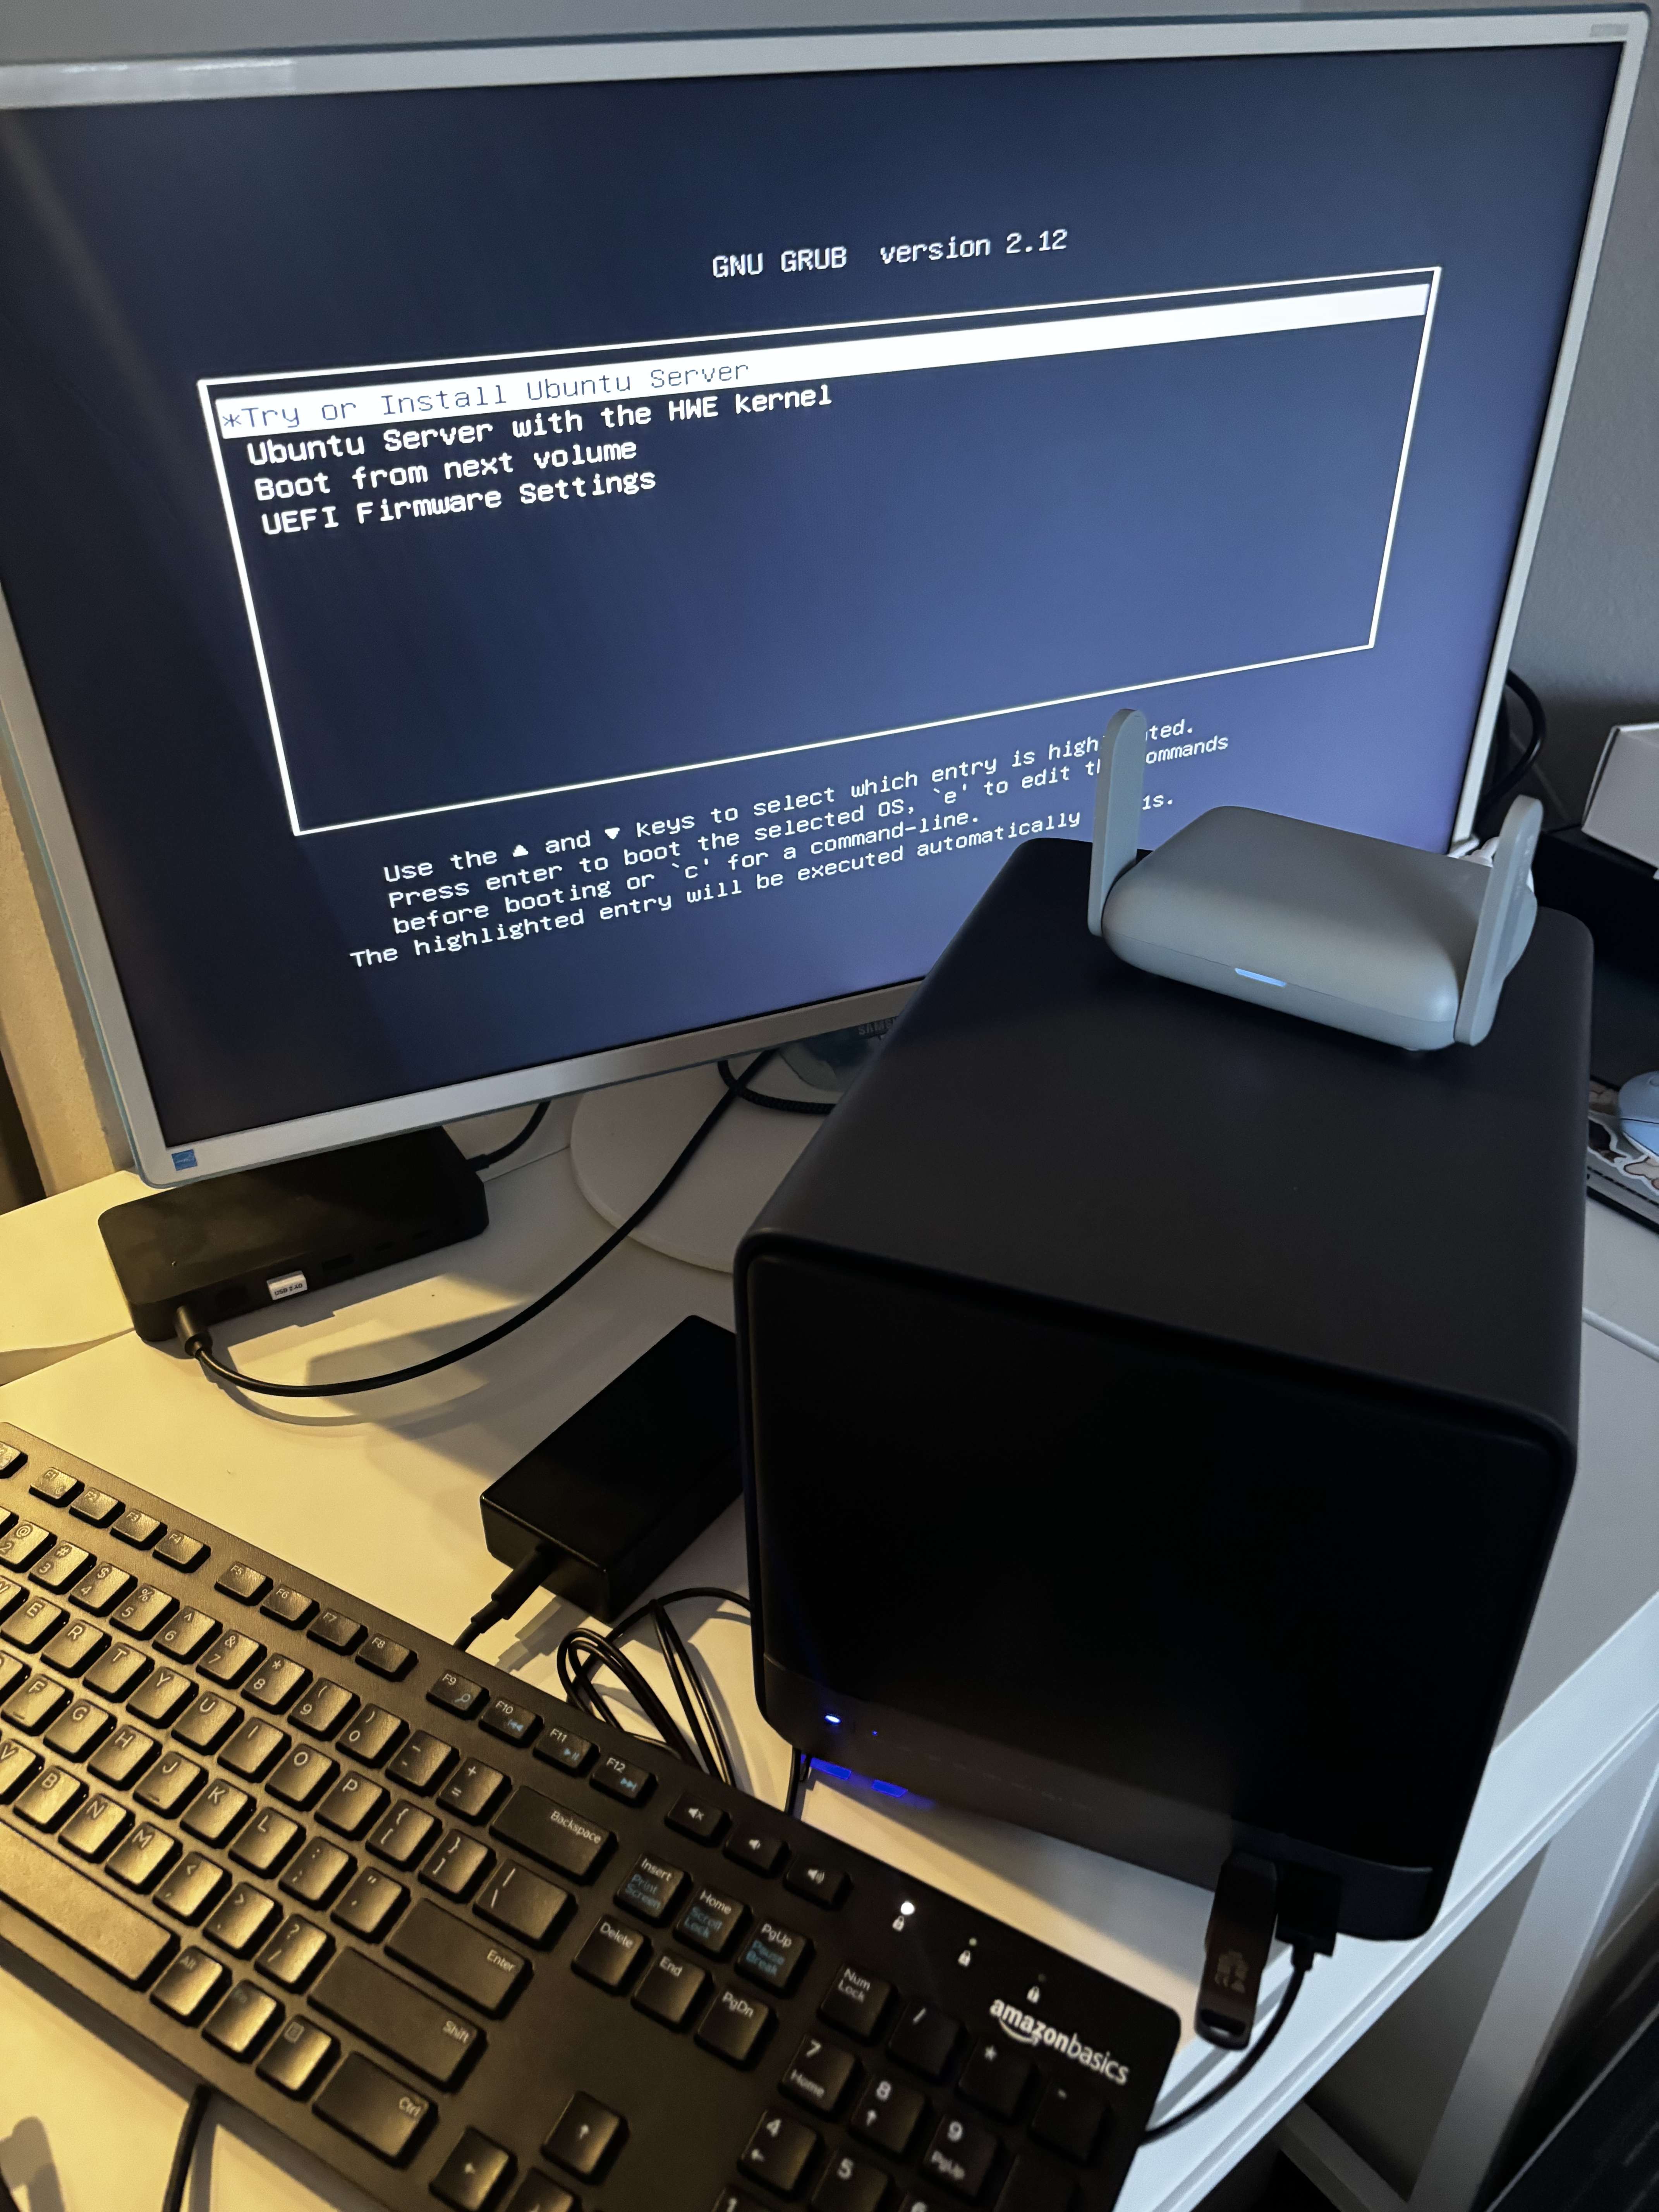
High-level specs:
- 32GB RAM
- 128GB boot drive
- 4TB NVMe SSD pool, tolerating one drive failure
- 16TB HDD pool, tolerating one drive failure (two if you’re lucky)
- UPS, integrated for a graceful system shutdown when the battery gets low
- 26TB HDD drive serving as an offsite backup
This blog post will walk through the architecture decisions and setup, up to the point where Kubernetes and Kubevirt are available to deploy applications. The applications themselves I’ll cover in future posts.
Note: LLM Usage
If there is any value in a personal blog, it is that there is a human being on the other end of it.
I use LLMs for other things:
- Writing boilerplate and code
- Troubleshooting (especially combing through logs)
- Research and learning
All writing on this blog is done myself, the old-fashioned way.
Objective
First we need to establish some guidelines to drive the decision-making here.
Requirements
- Host a large cold storage array.
- Host container and virtual machine workloads.
- Provide strong guarantees against data loss for the above.
- Recover gracefully from power and Internet outages.
- Manage as much as possible with GitOps and Infrastructure-as-Code.
- This is good for about 57 reasons - easier disaster recovery, better visibility for security auditing, easy rollbacks, etc.
Constraints
- No public IP in my apartment, no Ethernet (WiFi is 200 Mbps up/down, WiFi 6).
It is worth noting that I am not going 100% self-hosted. I am okay with using SaaS VPN solutions, password managers, etc.
Hardware and Budget
Server \$960: MINISFORUM N5 Pro AI NAS
- Storage is way more important to me than compute, so a NAS solution makes sense.
- The integrated GPU will be used for Jellyfin transcoding. I expect to use the extra PCIe lanes and/or OCuLink for an external GPU eventually (LLM hosting).
RAM \$320: 2x Crucial 16GB DDR5 5600
- There’s only two SO-DIMM slots I can’t add on later, I can only replace. I wanted 64GB but I won’t get close to that until I am running much more memory-intensive workloads on here. So, 32GB is an okay compromise in the meantime to stay within budget. Maybe someday RAM prices will go down.
Disk \$2875: WD Red Plus 8TB HDDs (4x \$250) + 4TB Lexar NM790 NVMe SSDs (2x \$630) + WD Red Pro 26TB HDD (1x \$615)
- The server comes with a 128GB NVMe boot drive.
- I initially bought 2x WD Red Pro 16TB HDDs instead and was unpleasantly surprised by a loud clicking sound every ~5 seconds. Support confirmed this is expected for any of their 12TB+ drives, so I ended up returning these. This server is running out of my apartment, after all.
- The 26TB drive is for an offsite backup.
Travel router \$100: GL.iNET Beryl AX
- Easy fix for the “no Ethernet in my apartment” thing.
- My only real requirements here were WiFi 6 support and “WiFi on WAN.”
UPS \$220: APC BN1500M2 Back-UPS Pro, 1500VA 120V
- This is overkill, but I want to futureproof.
- I have it connected via USB to the server and plan to use NUT or similar to do a graceful shutdown when the UPS battery gets low.
Grand total: \$4475 (64% of this is storage)
System Architecture
Since I’m short on RAM, I want a lightweight solution for running containers and VMs together. The “lightweight” part rules out OpenStack, and to a lesser degree Harvester. The fact that I want regular old OCI/application containers (not LXC) rules out Proxmox.
The more popular solution would just be to run a hypervisor for the VMs (i.e. Proxmox/ESXi), and then just make a Kubernetes cluster out of VMs. But I think a fully declarative stack is cleaner:
- NixOS for the host system
- Kubernetes (k3s) for container workloads
- Kubevirt for virtual machines
I considered Talos Linux as an alternative for NixOS. The concept of having an immutable host is very appealing, but in the end convenience won. Running some tasks on the host system itself is just easier (i.e. UPS integration and Tailscale).
Network Access
Network access is less than ideal since there’s no Ethernet in my apartment (long story). I decided to get a cheap travel router to connect to WiFi on the WAN, and then run Ethernet to it from the server.
I also don’t have a public IP to work with, so for anything to be remotely accessible there is going to be some kind of tunneling involved. Hosting a VPS with a public cloud provider to serve as a VPN endpoint is a good route. I don’t want to pay for that, so I am happily using Tailscale (along with their Funnel feature) for now.
Storage Architecture
I want to tolerate drive failures in my HDD and SSD pools, so some kind of mirroring is needed. I considered using the traditional ext4 with mdadm for software RAID, but ended up going with ZFS. The specific benefit here is that ZFS performs block-level checksumming (it can automatically recover corrupted blocks from the mirrored device). Since I intend on hosting large files for a long period of time, this is a long-term protection against bit rot. ZFS has native encryption support which I am using as well.
Another reason I chose ZFS is this makes backups very easy. I have two ZFS pools - one for HDDs and one for SSDs. To create a backup, it’s just two zfs send commands (and after the initial backup, this can be incremental). My backup strategy is my single 26TB drive. Once every three months, I plug it in long enough to run an incremental backup (a few hours), and then it goes in a fireproof safe in a separate physical location. Remote backups get expensive at this scale - even a cheaper solution like Backblaze B2 at \$7/TB/mo would approach \$1500/yr as the pools reach capacity.
ZFS also plays nicely with Kubernetes. Since I only have one node, I could have gotten away with using the local-path-provisioner that k3s uses by default. The local-path-provisioner just creates a folder on disk for each PV. But I want to be able to define storage limits on each PV, and local-path-provisioner can’t enforce this. If something goes wrong and some VM fills up its disk, it would be filling up the storage pool itself. I ended up finding a project called democratic-csi that can provision ZFS datasets and zvols as PVs. ZFS datasets come with a filesystem, zvols are raw block devices (great for virtual machines, i.e. Kubevirt). So, I set up two StorageClasses - one for zvols and one for datasets - and configured both to be provisioned on the SSD pool. The HDD pool is just one big dataset containing my various data hoarding efforts, it is not used in Kubernetes/Kubevirt outside of read-only mounts.
Bootstrapping
Even though I’ve defined as much as I can with code there’s still a few manual steps.
- Creating a bootable NixOS USB and going through the install
- Importing my GPG key (used by SOPS so I can store my secrets in encrypted form in the git repo)
- Running
nixos-rebuild switch - Logging into Tailscale with
tailscale login(join tokens have a max age of 90 days so it’s not worth keeping one in the git repo) - Once k3s comes up, manually applying the
fluxcdresources withkubectl
And that’s it! My NixOS configuration does the heavy lifting, including importing + decrypting the ZFS pools.
Expansion Plan
I don’t intend to add more nodes in the immediate future, but I want to make sure it is possible. K3s will expand just fine, so that is not a concern. Storage is a little trickier. Since the node I have has a large storage capacity, any additional nodes would be for compute. I would expose the HDD array with NFS or similar.
If I added one compute node, I would probably give it its own SSDs with a matching ZFS configuration. I could stick with democratic-csi, the local ZFS CSI drivers work just fine. Now, since the PV only exists on a single node things would get a little weird. I can’t drain a node, because when the container / VM comes up on the other node it would be missing its PV.
If I added two compute nodes, I am at quorum for a proper distributed storage solution like Ceph or Longhorn.
Conclusion
Ok - now we have everything set up and ready to deploy workloads! I’ve been running this for a few months with Jellyfin, Immich, Authentik, a custom vulnerability research harness, and more. I’ll talk about these in a continuation of this series soon.
tags: Homelab - NixOS - Kubernetes - ZFS